

Workflows send emails or notify other apps automatically when something happens with a booking. For example, you can send a prep email the day before a session, a thank-you note after, or send booking details to Zapier when someone books.
Each workflow belongs to one booking page. It has:
A trigger: when the workflow runs.
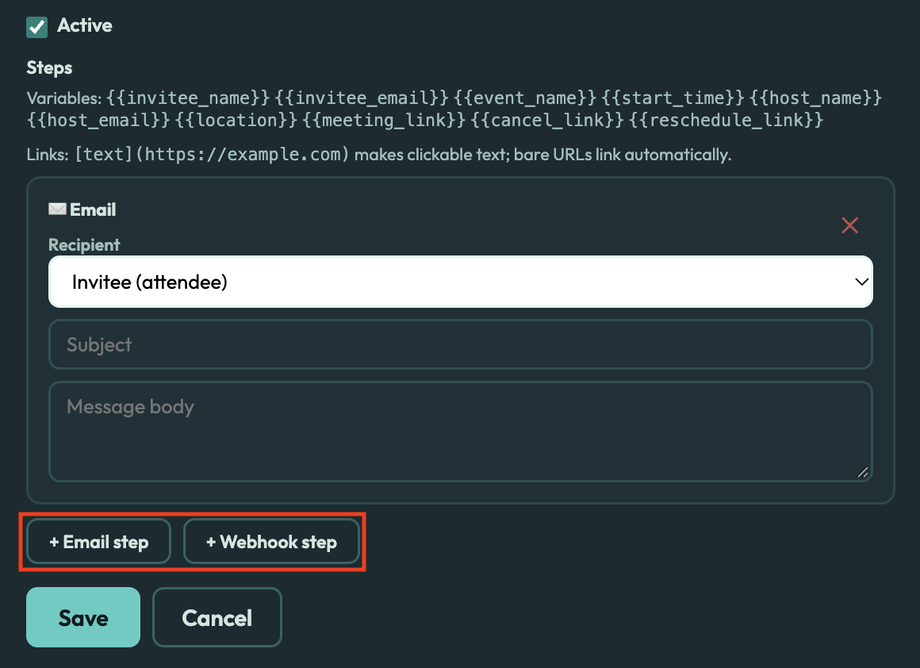
One or more steps: what it does. A step can send an email or send a webhook. You can add up to 10 steps.
Workflows only apply to bookings made after the workflow is turned on. Existing bookings are not affected.
Create a workflow
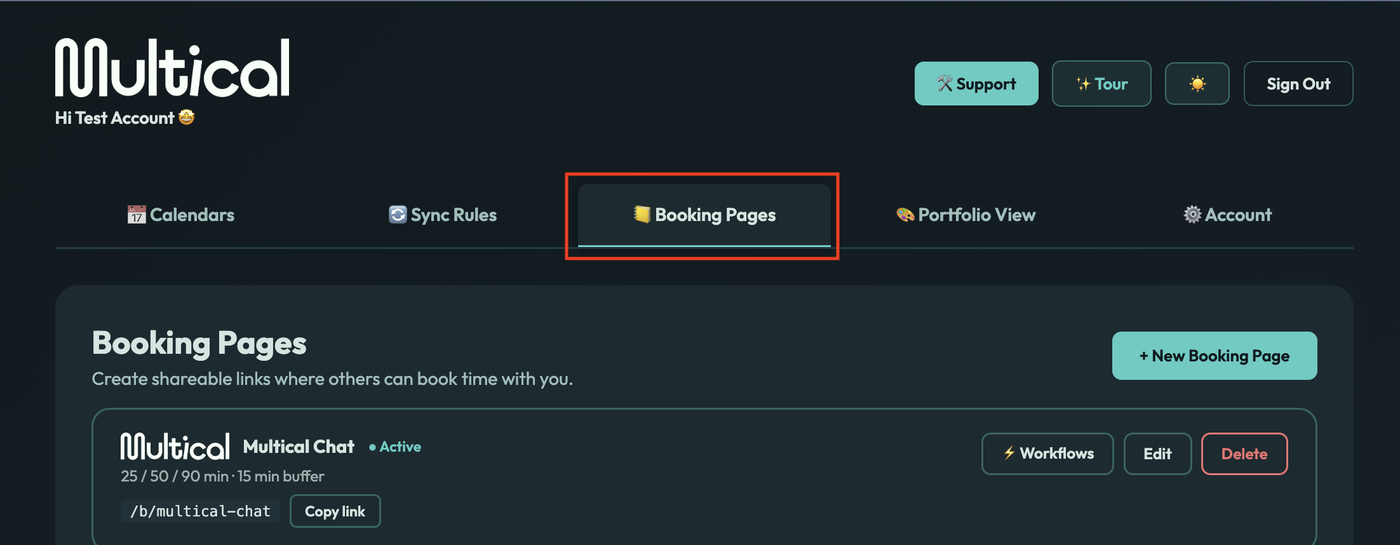
Open the Booking Pages tab.
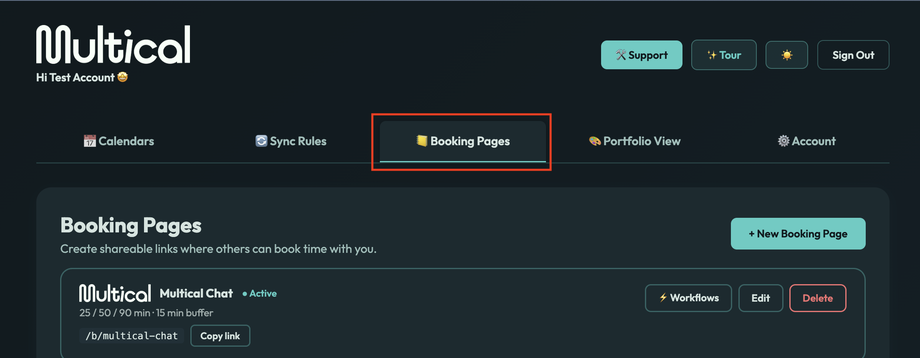
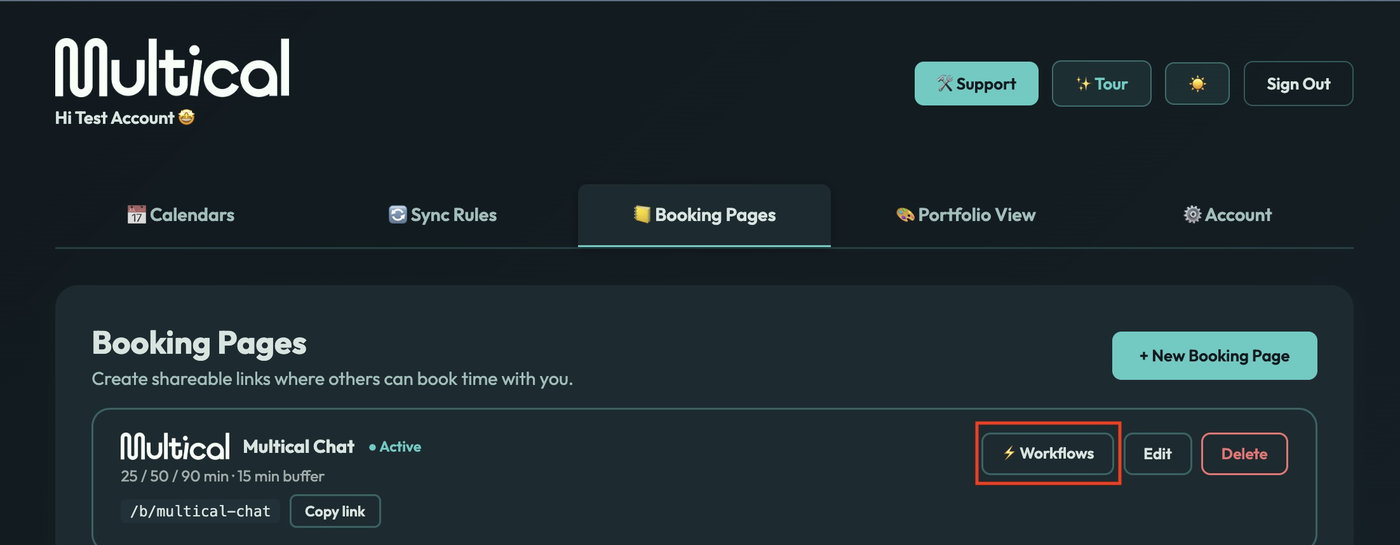
Find the booking page you want and select Workflows.
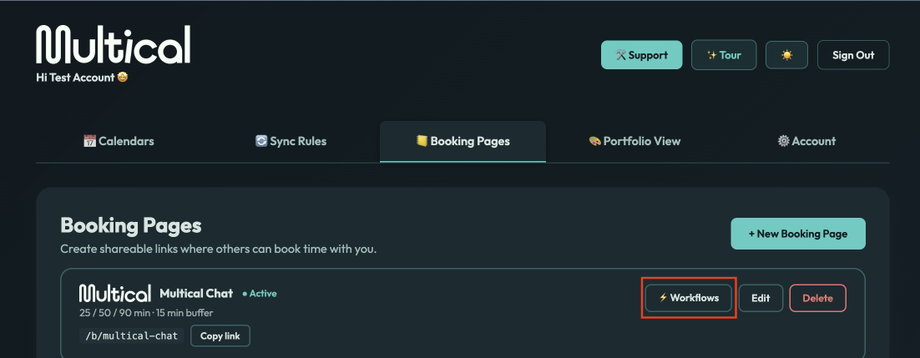
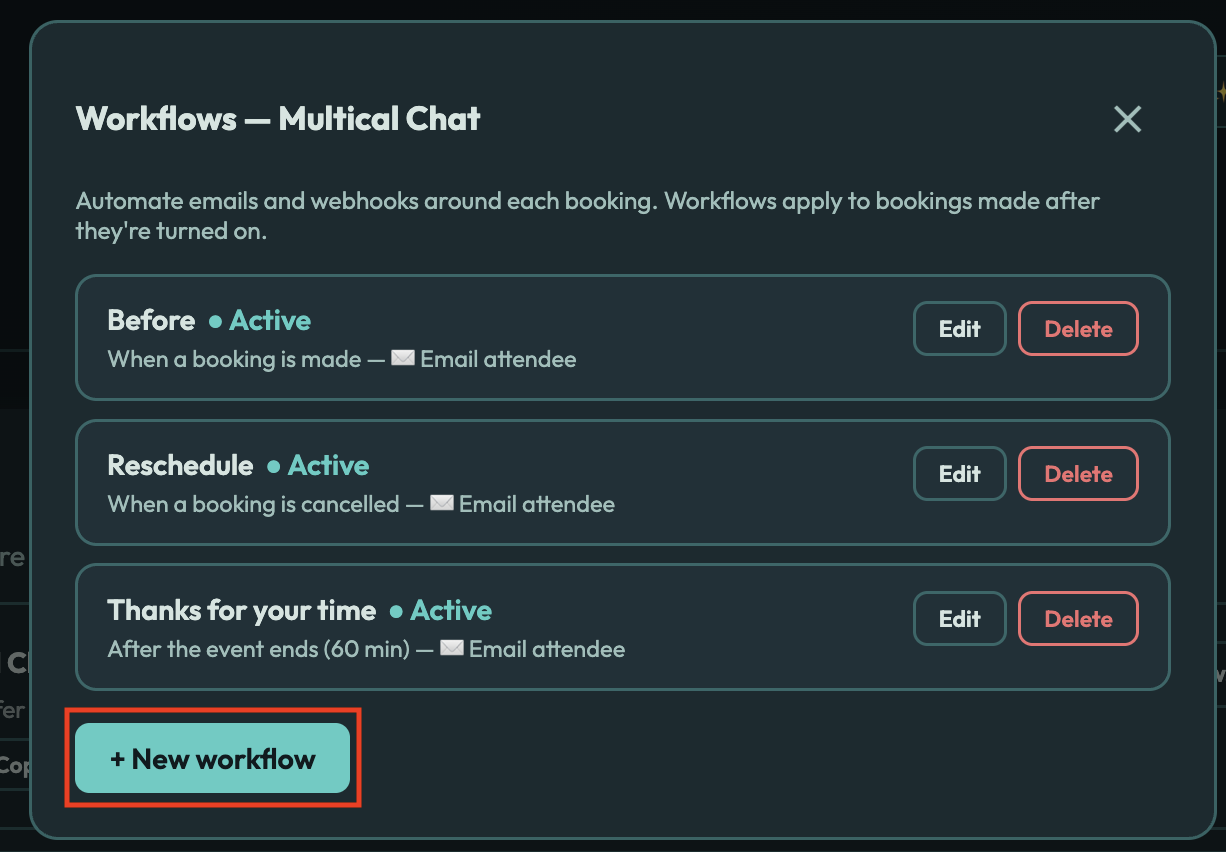
Select + New workflow.
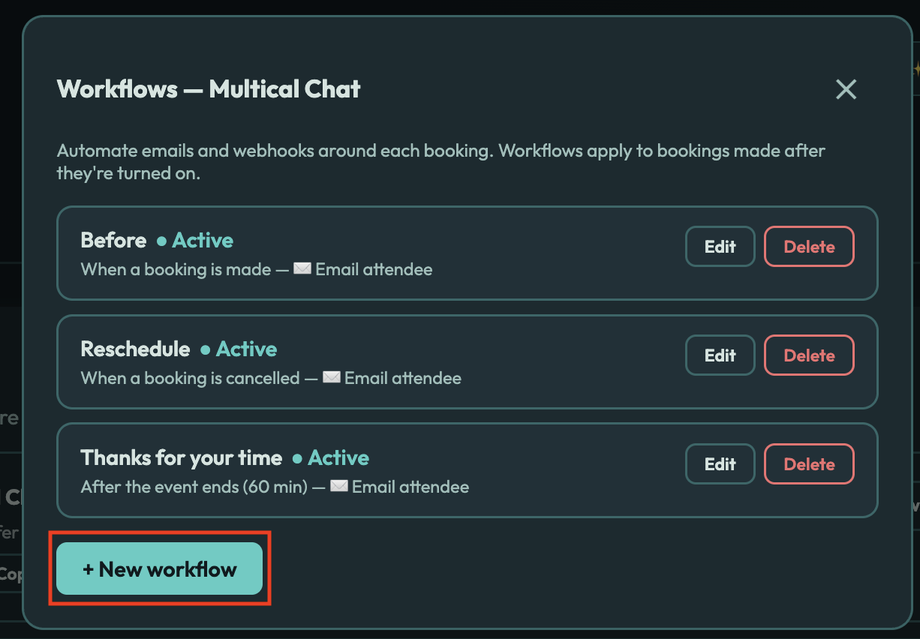
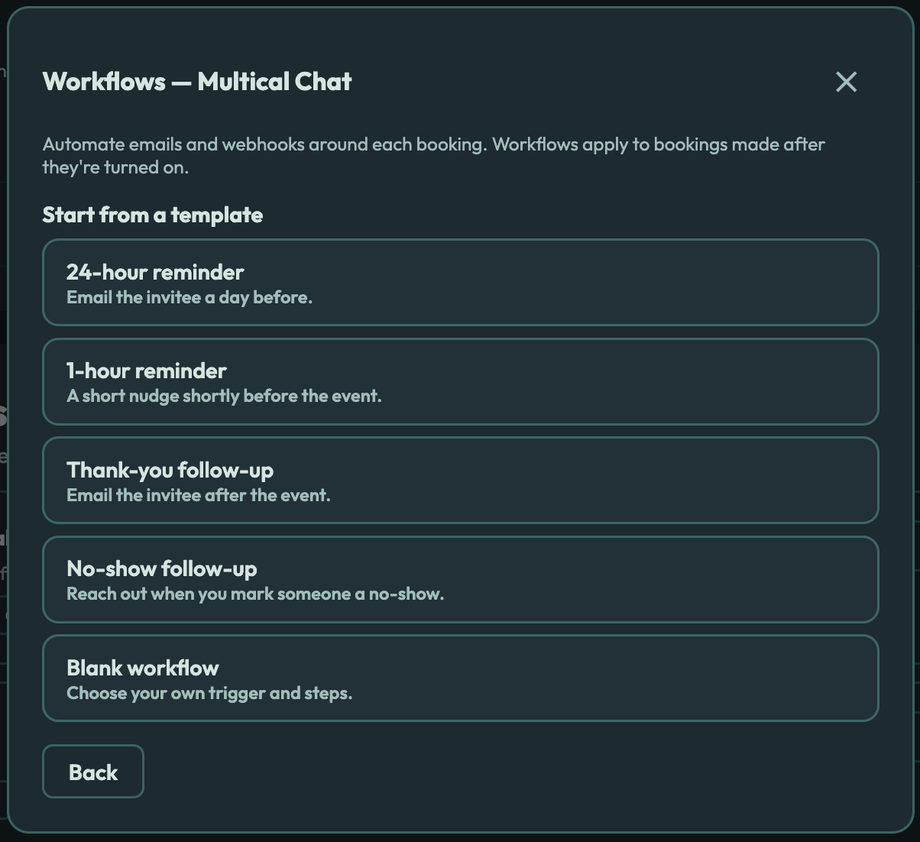
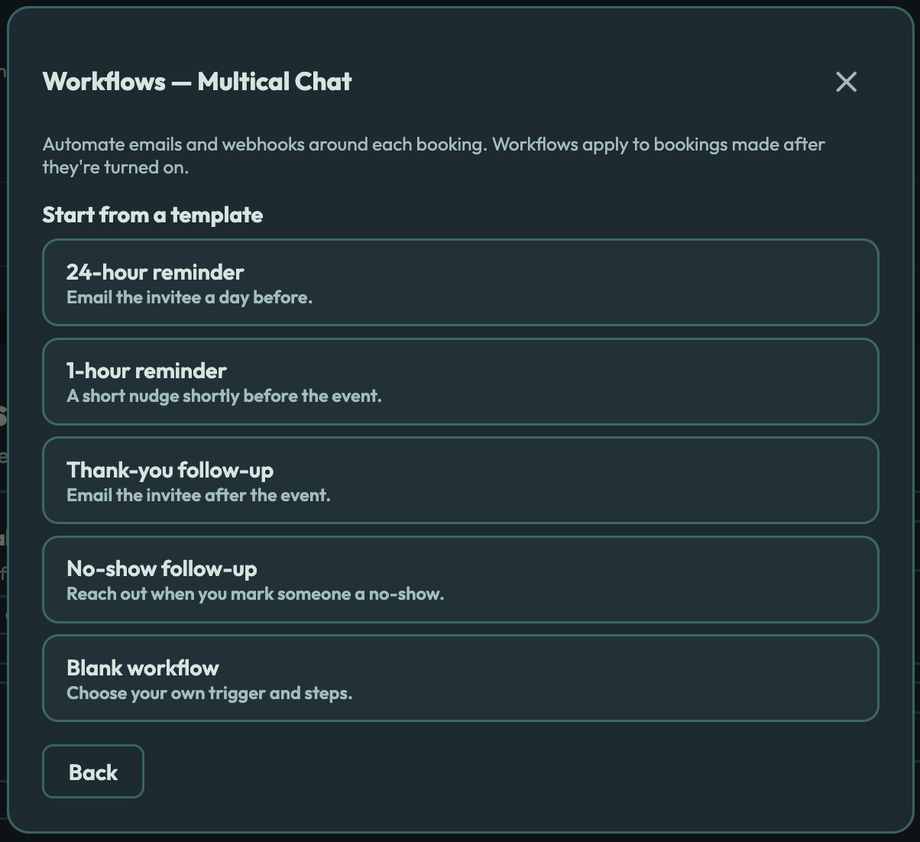
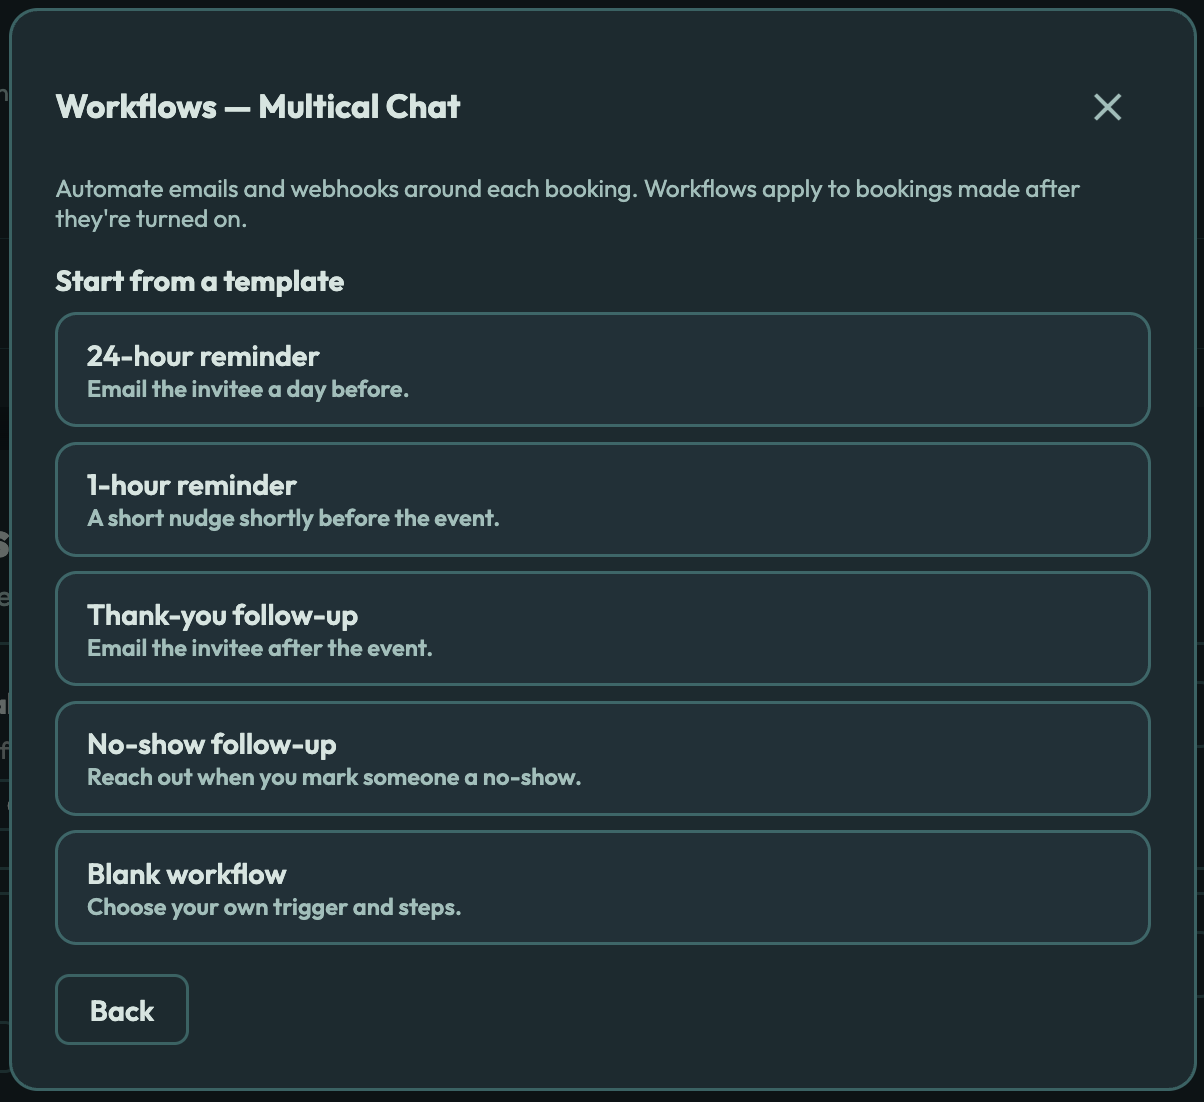
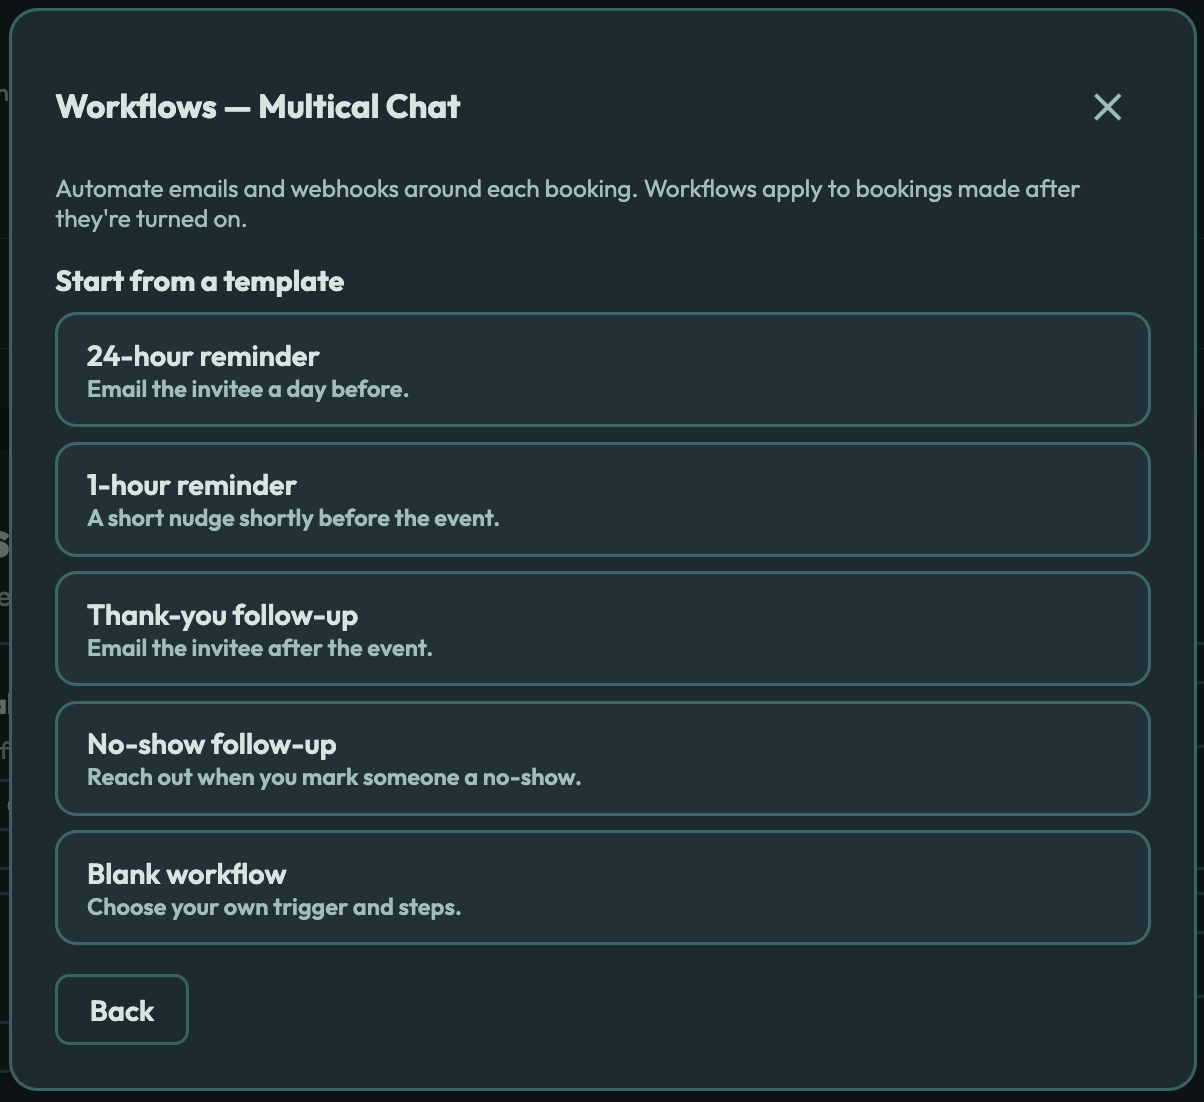
Choose a template (see below), or select Blank workflow to start from scratch.
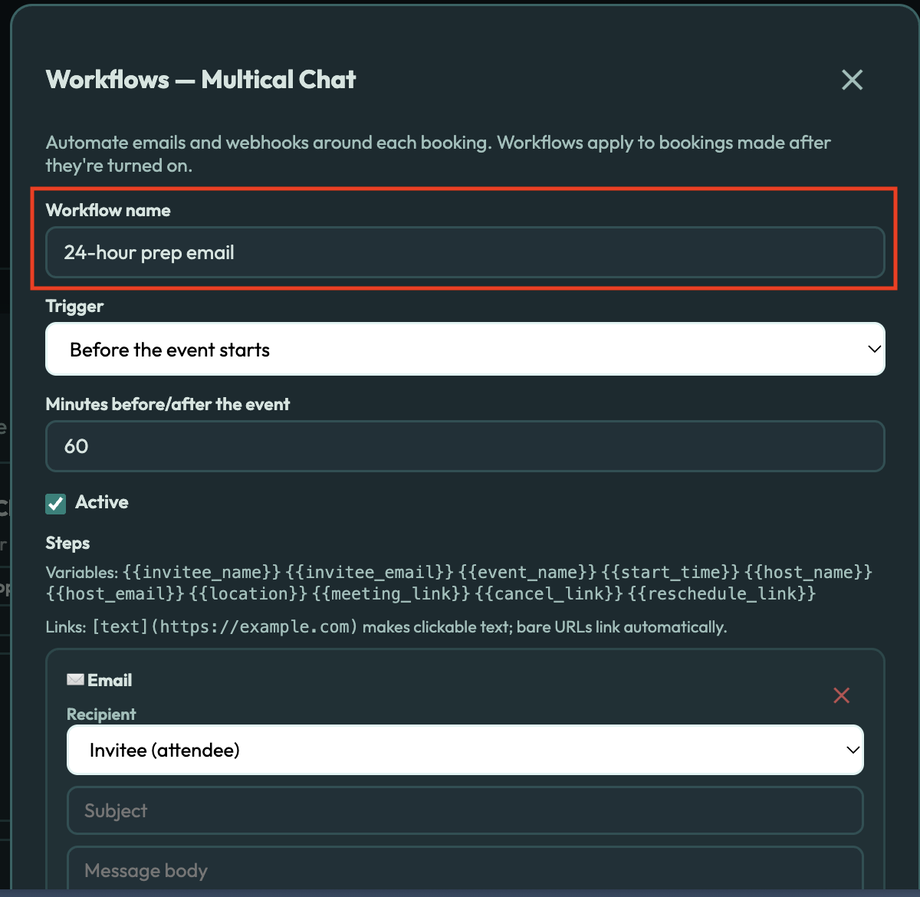
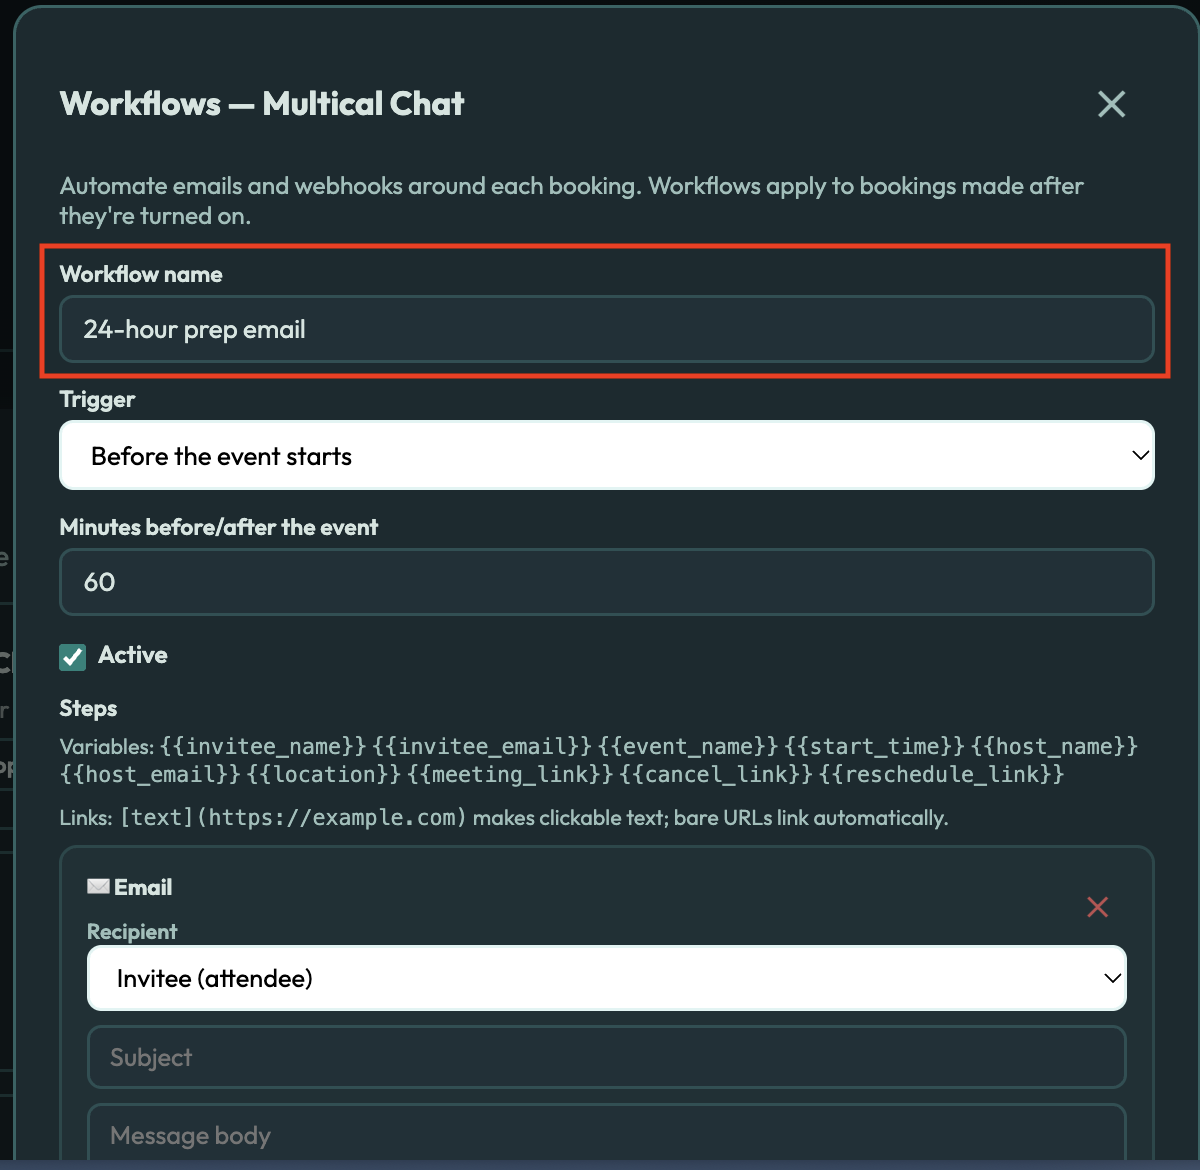
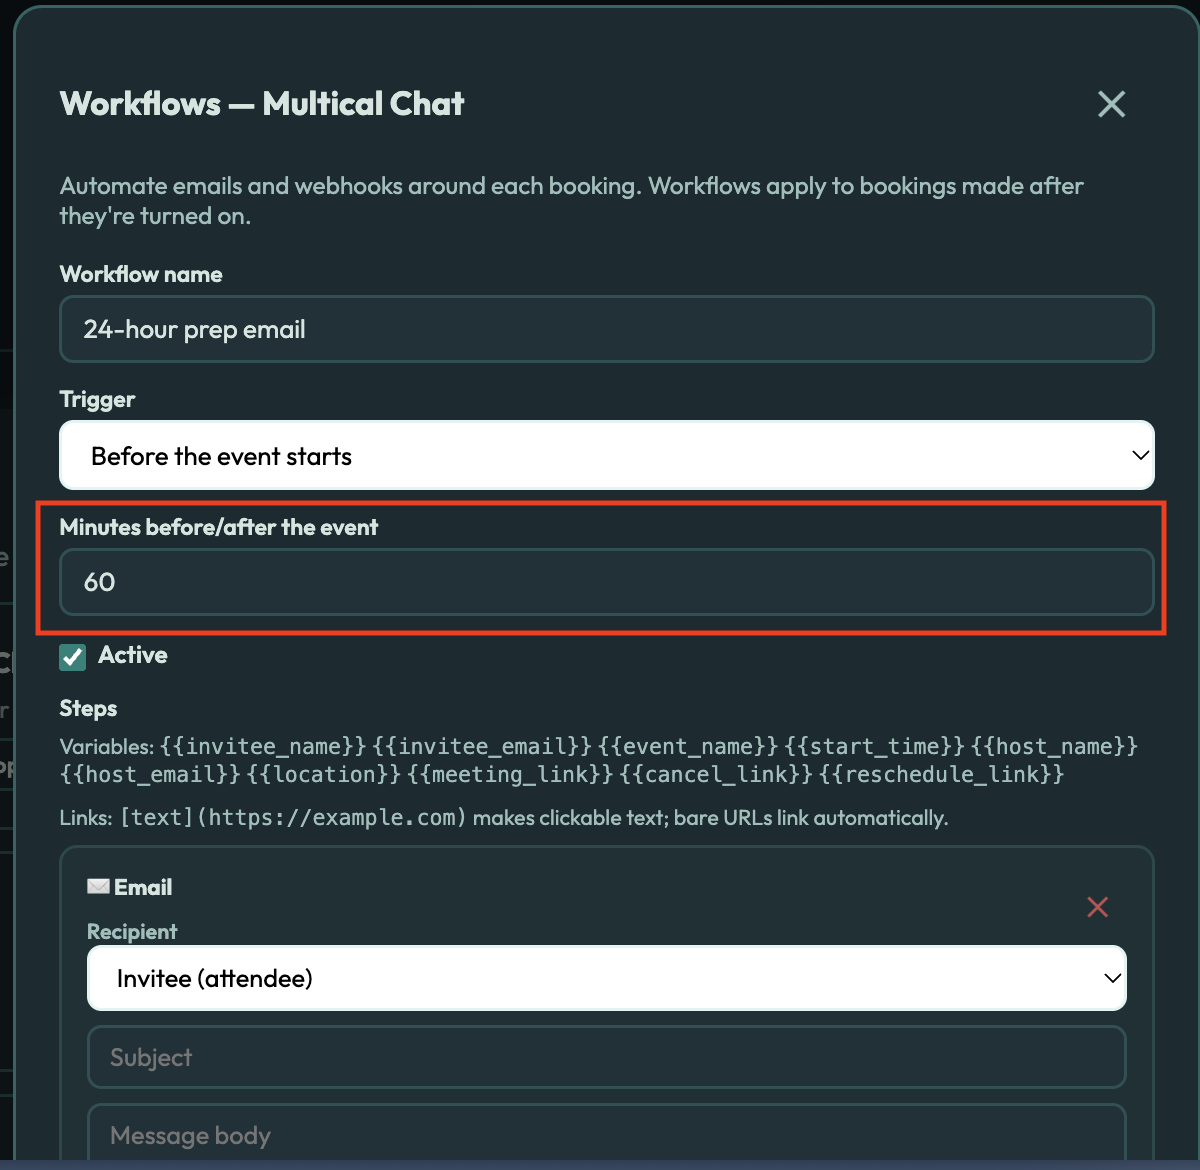
Give it a name you will recognize, like "24-hour prep email."
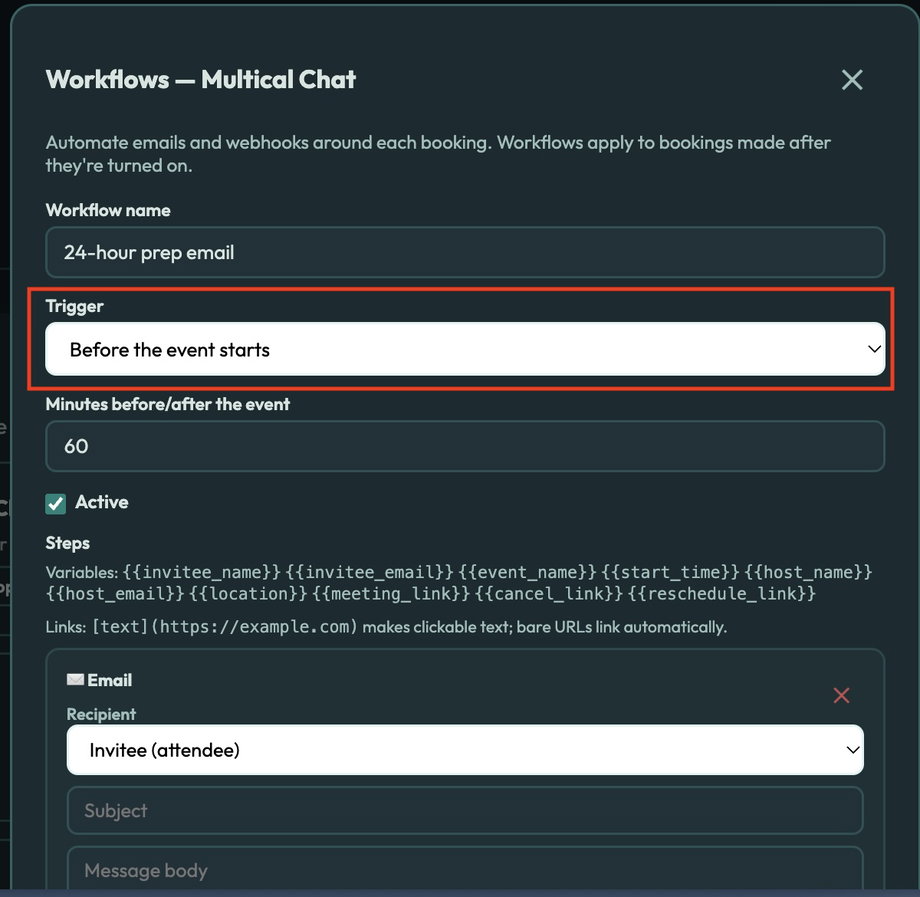
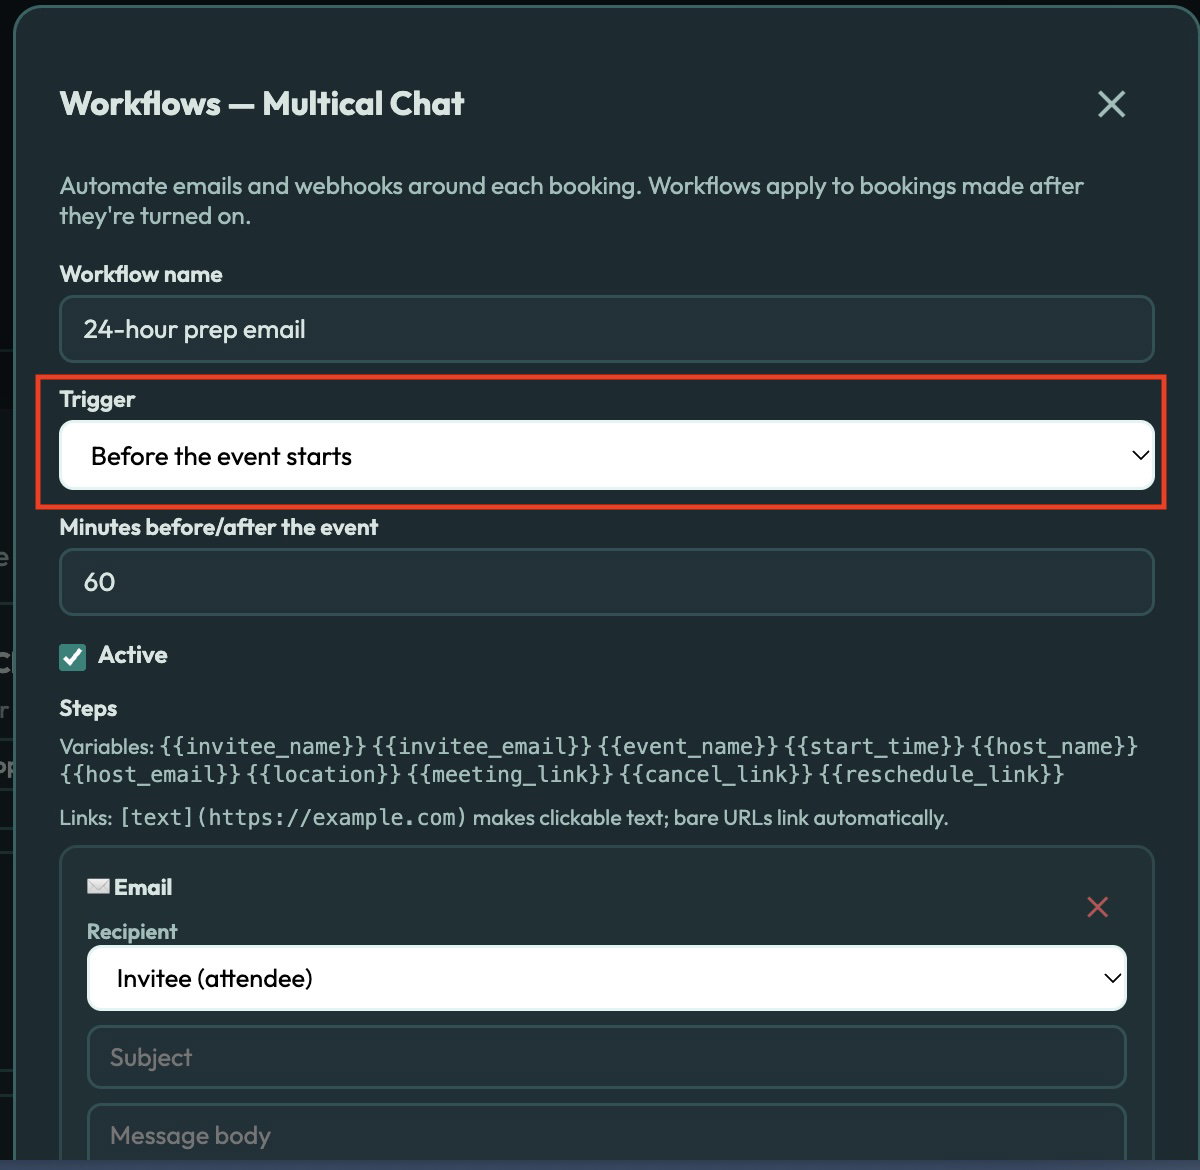
Choose a Trigger (see the table below).
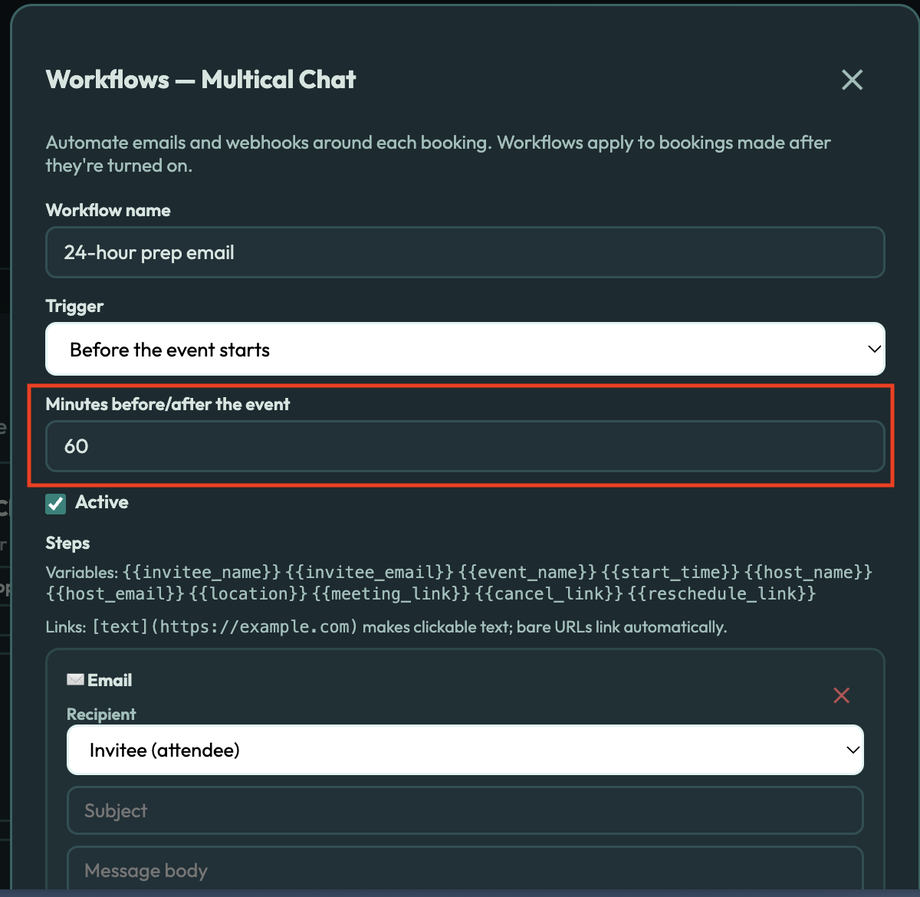
If you chose "Before the event starts" or "After the event ends," enter the number of minutes, hours, or days. You can go up to 60 days.
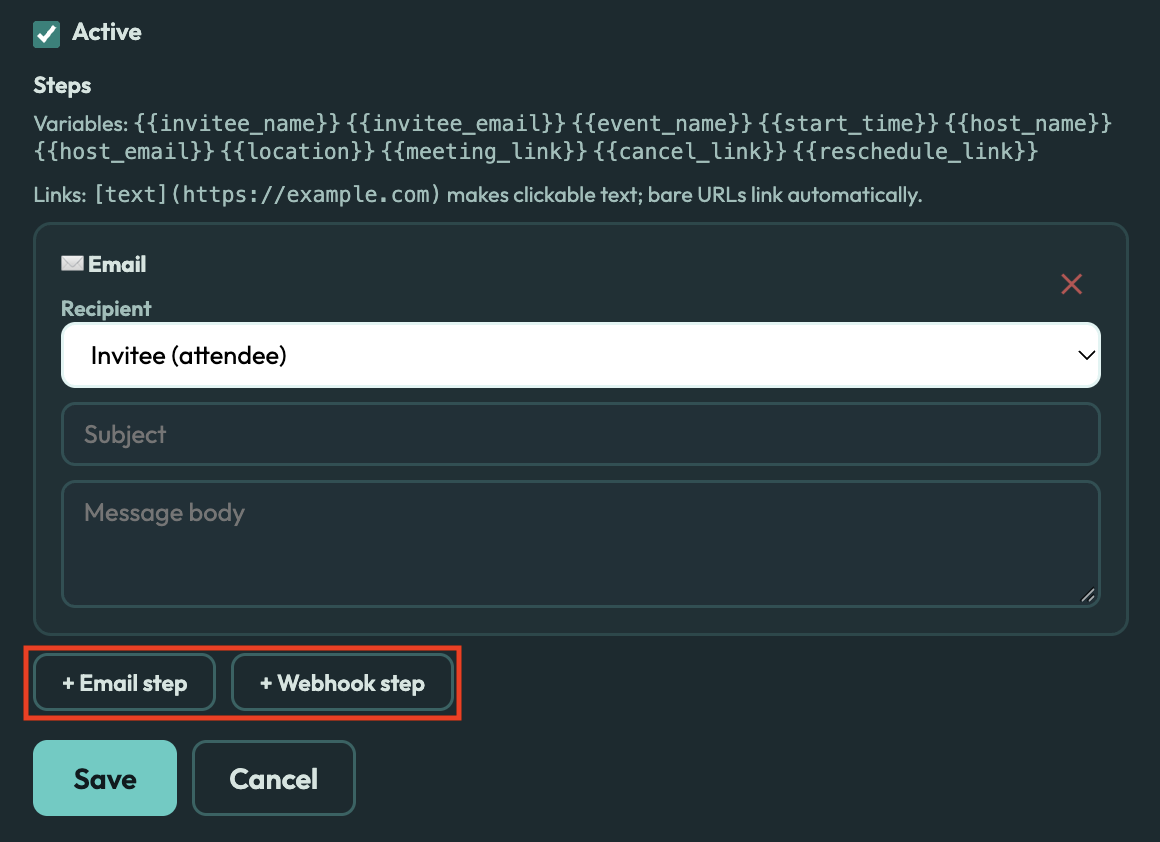
Add your steps with + Email step or + Webhook step.
Make sure Active is checked.
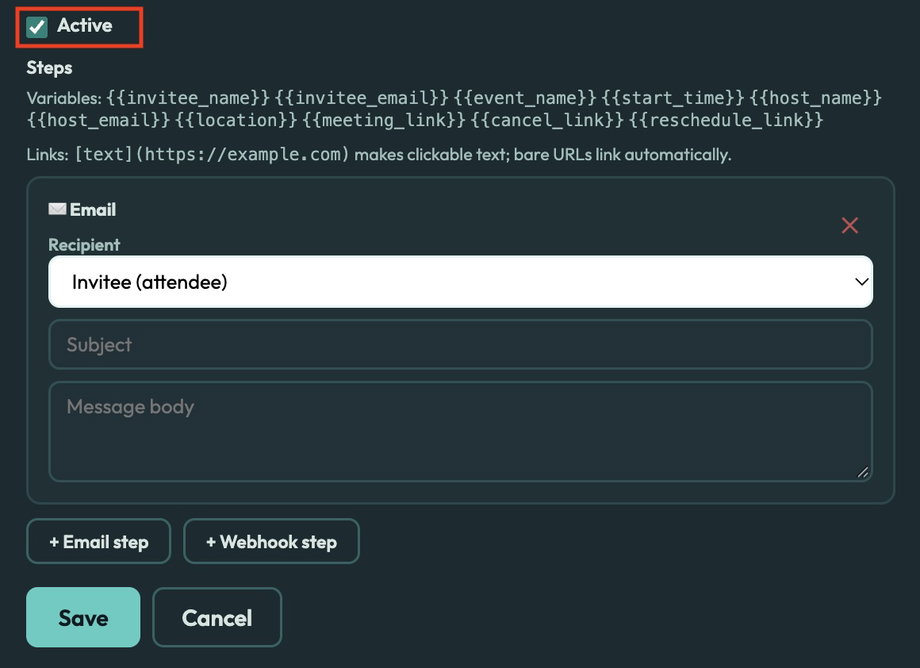
Select Save.
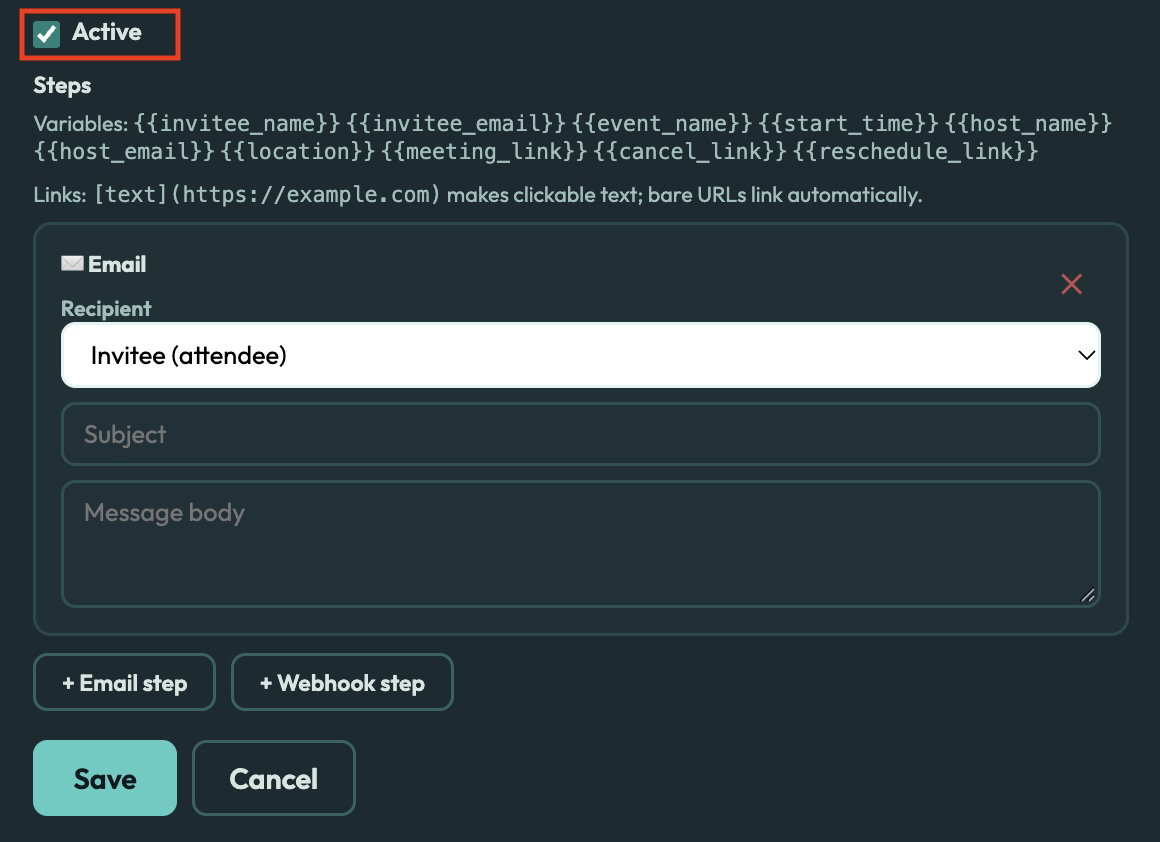
To pause a workflow without deleting it, edit it and uncheck Active.
Templates
Templates fill in the trigger and an email for you. You can change anything before saving.
Template | What it does |
|---|---|
24-hour reminder | Emails the invitee 1 day before the session |
1-hour reminder | Emails the invitee 1 hour before the session |
Thank-you follow-up | Emails the invitee 1 hour after the session |
No-show follow-up | Emails the invitee a reschedule link when you mark them as a no-show |
Triggers
Trigger | When it runs |
|---|---|
When a booking is made | Right after a booking is confirmed |
Before the event starts | A set number of minutes before the session starts |
After the event ends | A set number of minutes after the session ends |
When a booking is cancelled | Right after the booking is cancelled |
When a booking is rescheduled | Right after the booking is moved to a new time |
When marked a no-show | Right after you mark the attendee as a no-show |
Good to know:
Bookings that need your approval start their workflows once you approve them.
Cancelled bookings stop any reminders or follow-ups that have not been sent yet.
Rescheduled bookings automatically move any "before" and "after" messages to match the new time.
Timed messages are sent within a few minutes of their scheduled time, not to the exact second.
Mark a no-show
Open the Booking Pages tab.
Find the attendee in the Recent Appointments list. It shows confirmed sessions that ended in the last 14 days.
Select Mark no-show and confirm.
Any "When marked a no-show" workflows on that booking page run right away. You can only mark a session as a no-show after it has ended.
If a step fails
Steps run in order. If a step fails, Multical tries again up to 5 times, waiting longer each time (about 1, 5, 15, then 60 minutes). The retry picks up at the failed step, so steps that already worked are not sent again.